Thinking back to your childhood – what was the room that meant the most to you? And as an adult – what room do you love the most now? For me, it’s always been the dining room.
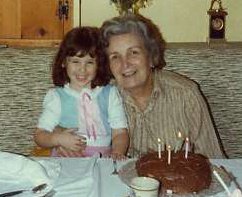
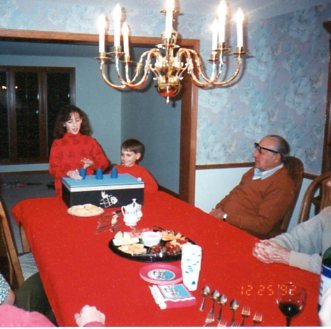
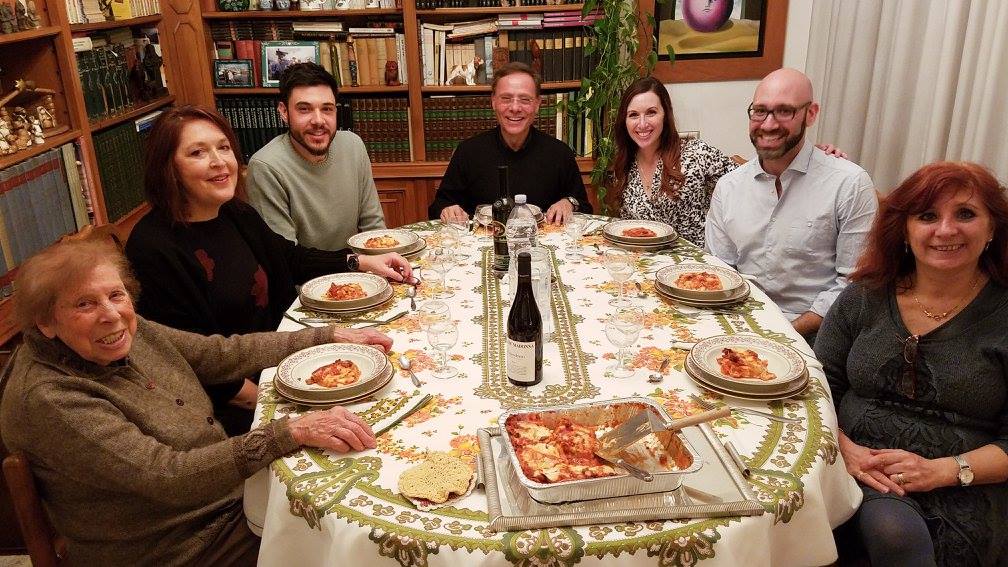
I have the fondest memories of my grandmother cooking and serving peas and macaroni, my grandfather sipping red wine (and slipping me his last drop under the table – “Finish the edge,” he would say), our beautiful family – cousins, aunts, uncles – and so much food! Sunday sauce and meatballs – the holidays – sitting at the table long after we all took our last bites and just talking and laughing – so many of these moments are now comforting memories that I wish I could relive. To me, the dining room has always felt like home.
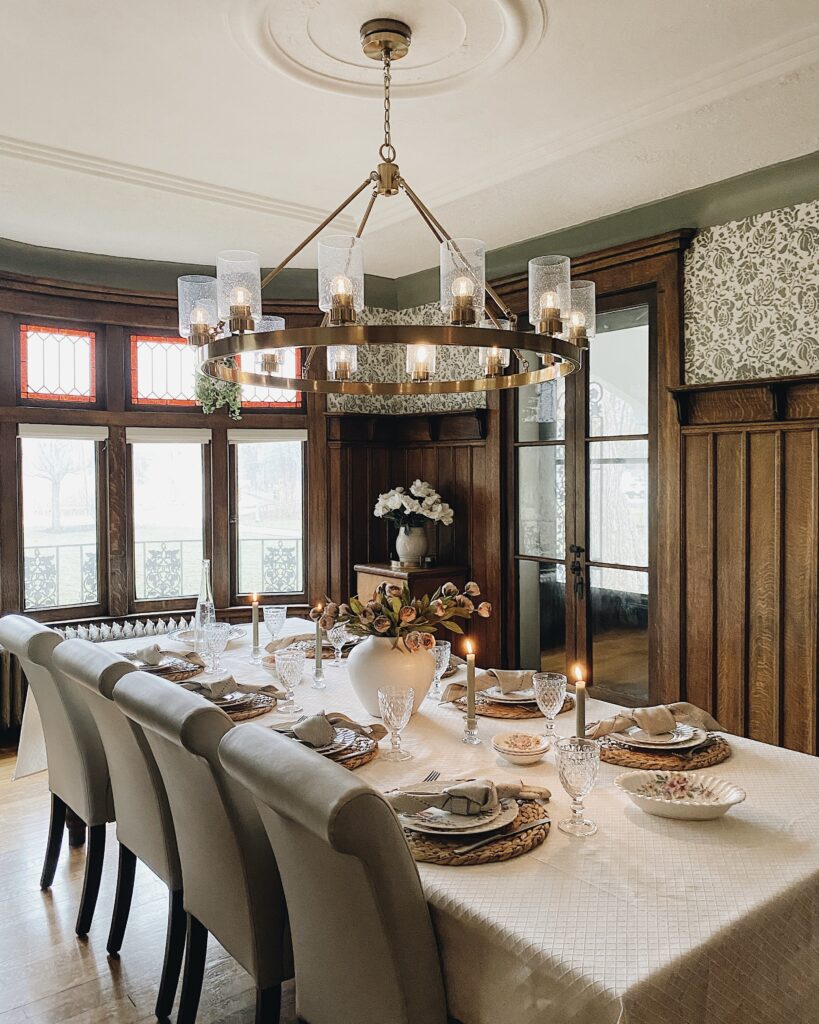
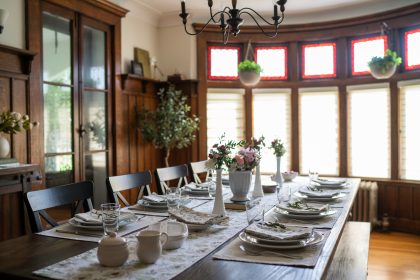
It’s no surprise, then, that a formal dining space was non-negotiable for me in our search for a new home. After moving into our 1902 Colonial Revival in the early spring of 2021, one of our first purchases was a custom-made, massive, 9 x 4.5-foot, solid wood dining table. We hosted my mother and step-father’s wedding just shy of six months later, and what joy it was to see my family gathered around that table!
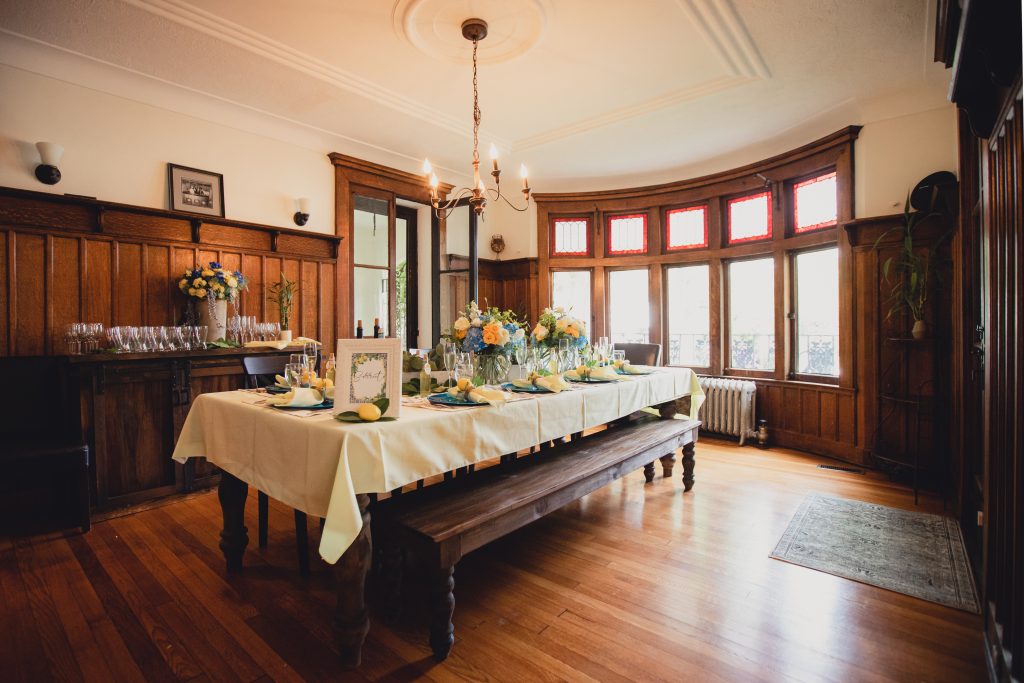
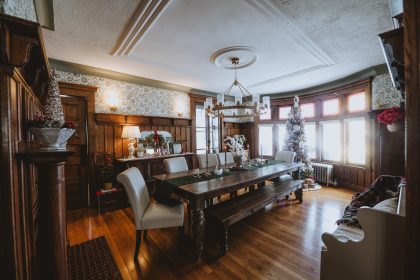
In terms of design, we had refreshed the white paint between the hand-crafted wainscoting and ceiling moulding, but other than adding the table and sideboard, we hadn’t done much. I often stared at the white space – a blank slate calling out to me for pattern and color. I started to peruse the Internet for wallpaper patterns, and yet the idea of wallpapering seemed costly and arduous.
In the fall of 2023, I stumbled across Royal Design Studio Stencils, and I was awe-inspired. Within a day or two, I reached out to to share my vision, and the rest was history. Here’s everything you need to know about my journey in stenciling – and not just stenciling a square accent wall – but a historical space full of corners and turns, moulding and woodwork. It is challenging, but it is possible – and it is worth it.
Step One: Choosing and ordering your stencil
Royal Design Studio Stencils has a myriad of beautiful stencil patterns. Their website is well-organized into categories, which helps with the selection process. My suggestion is to start by looking through each pattern style, see which resonate with you – and weed out the ones that don’t. For instance, I loved the look of Classic European Design Stencils and knew this style would pair well with our home aesthetic. When shopping on their website, please feel free to use my 20% discount code, MAPLEHOUSE20 at check out!
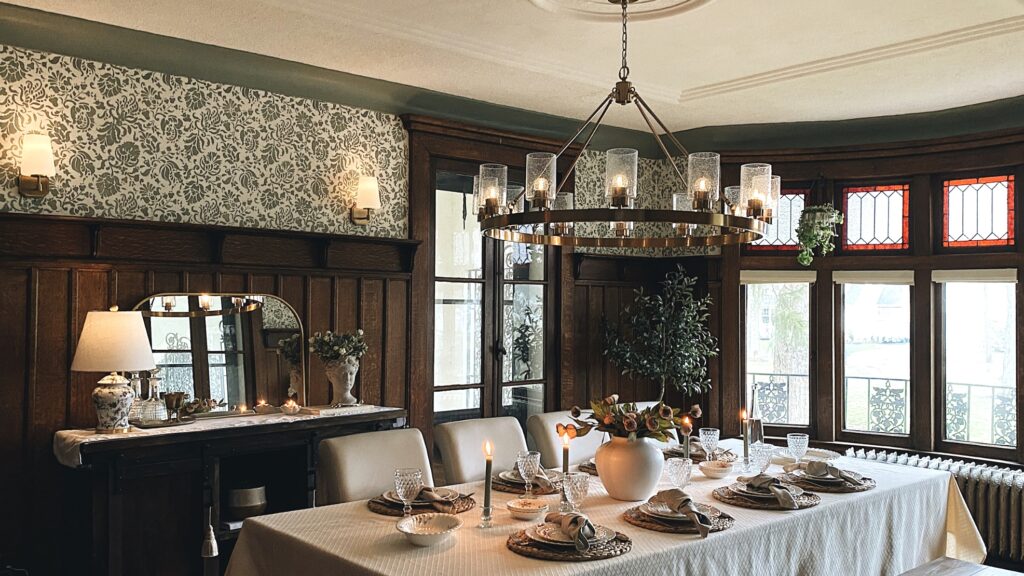
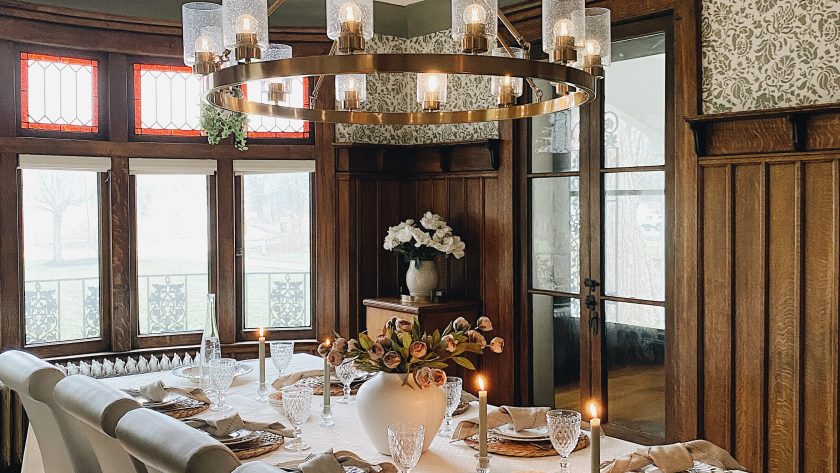
At first, I was torn between three stencils – Wisteria, San Bartolo and Allover Brocade. All so pretty in their own way! I created mock-ups of my dining room with each pattern, narrowed it down to two, and put up a poll in my Instagram stories. The results were pretty even! In the end, I kept coming back to the Allover Brocade pattern and knew it was “the one.” The pattern is vintage-European-inspired, elegant, and has brought a sense of warmth to our dining room. The Allover Brocade feels like its always been part of the story, as the pattern so closely mirrors the wrought iron gates surrounding our home. The other element attracting me to this particular wall stencil was the fact that it’s – like its name – Allover! Pro-tip: The busier the pattern, the easier it is to conceal mistakes and imperfections.
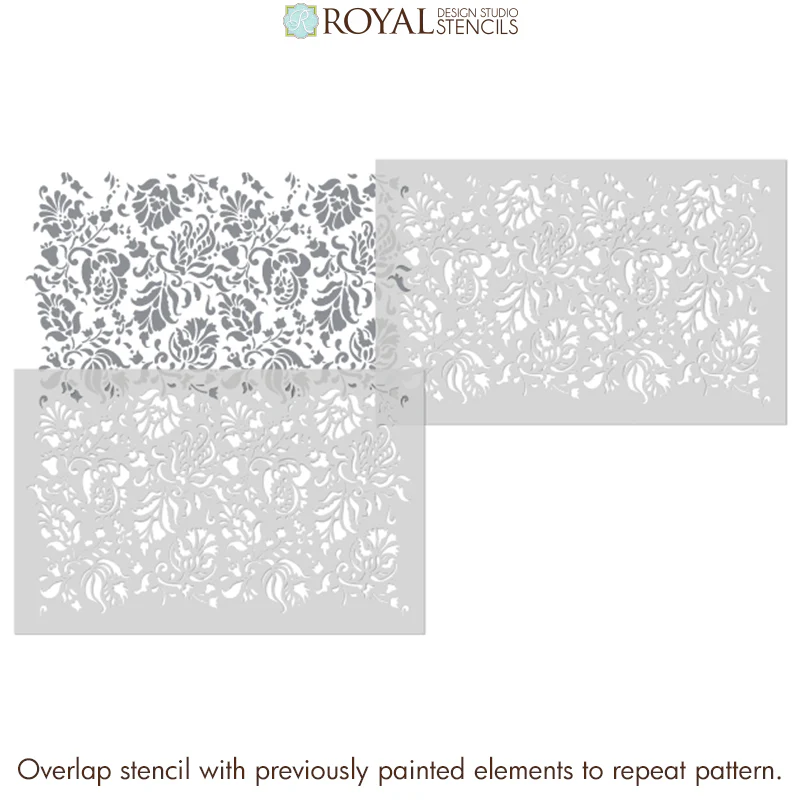
Another pro-tip: Take into consideration the size of your room or space vs. the scale of your design when choosing a stencil:
- Smaller room/space:
- Royal Design Studio Stencils offers a variety of options for smaller spaces and stencil projects, including smaller sizes for specific patterns. Here are some examples:
- Larger room/space:
- Royal Design also offers many large scale stencil options if you have a large surface such as a bedroom wall or porch floor.
- Allover Wall Stencils are large allover pattern stencils that are designed to help you paint wall areas quickly. Unlike wallpaper for walls, these wall stencils for painting are a more affordable solution to decorate a large feature wall or room. All of Royal Design Studio Stencils’ large stencils include built in registration marks that help you align the the stencil perfectly each time. Use a large stencil to mimic the look of designer wallpaper or to even stencil large floor patterns.
- Large Upscaled Stencils are ideal for quickly stenciling fabulous feature walls and floors in your home. You can also use these large, graphic stencil designs outdoors to stencil concrete, decks and add dramatic stenciling patterns to porches and walkways. The large scale of these “upscaled” stencil patterns allows you to stencil quickly-so you can enjoy your DIY stencil projects sooner!
Once you’ve chosen your desired stencil, you’ll need to gather the following supplies:
- Your chosen stencil – remember to use my code MAPLEHOUSE20 at checkout for 20% off your purchase!
- Complete Foam Stencil Roller Set
- Stencil Detail Brush – Start with a single brush and add a second if necessary
- Painter’s tape – to secure the stencil to the wall when painting
- Paper towels – for spills, touch ups, and most importantly – to roll off excess paint prior to painting your stencil each time.
- Paint Pen – these are my favorite – essential for the hard-to-reach areas and detail work!
- Optional – Latex Paint Remover – I didn’t realize this existed and wish I had this – especially when I was scrubbing and peeling the built-up paint layer off of my stencil for 45 minutes!
- Paint! (See Step Two)
Step Two: Choosing your paint color
My best advice for choosing a paint color is to sample the color in multiple locations of your room as the lighting changes throughout the day. Rather than purchasing multiple cans of paint – or trying to envision how the color would look using a tiny paint swatch, I would suggest the following:
- Ask yourself these questions about the room you’re about to paint:
- Which direction is the room facing? Sunlight intensity and direction significantly impact how paint colors appear, so understanding room orientation is crucial to choosing the best paint color(s). Our dining room is East-facing, which means it receives lots of warm, natural light in the morning, and cooler, muted light during most of the afternoon and evening. When testing out Evergreen Fog, I made sure I was happy with the varied lighting in the morning vs. evening and how it impacted the appearance of the paint color.
- How do I want the room to feel? (e.g., calm, bold, sophisticated, nostalgic, modern, vibrant, moody, etc.).
- Large, peel-and-stick samples from Samplize. Each sample can be repositioned throughout your room multiple times to view the paint color in different lighting and alongside other paint colors, surfaces and objects in the room.
- If you’re super indecisive and not quite ready to invest in a larger sample – grab 5 or 6 paint swatches of each color and tape them together. This will allow you to move the larger swatch around the room and get a better sense of the paint color in various light throughout the day. This is what I did!

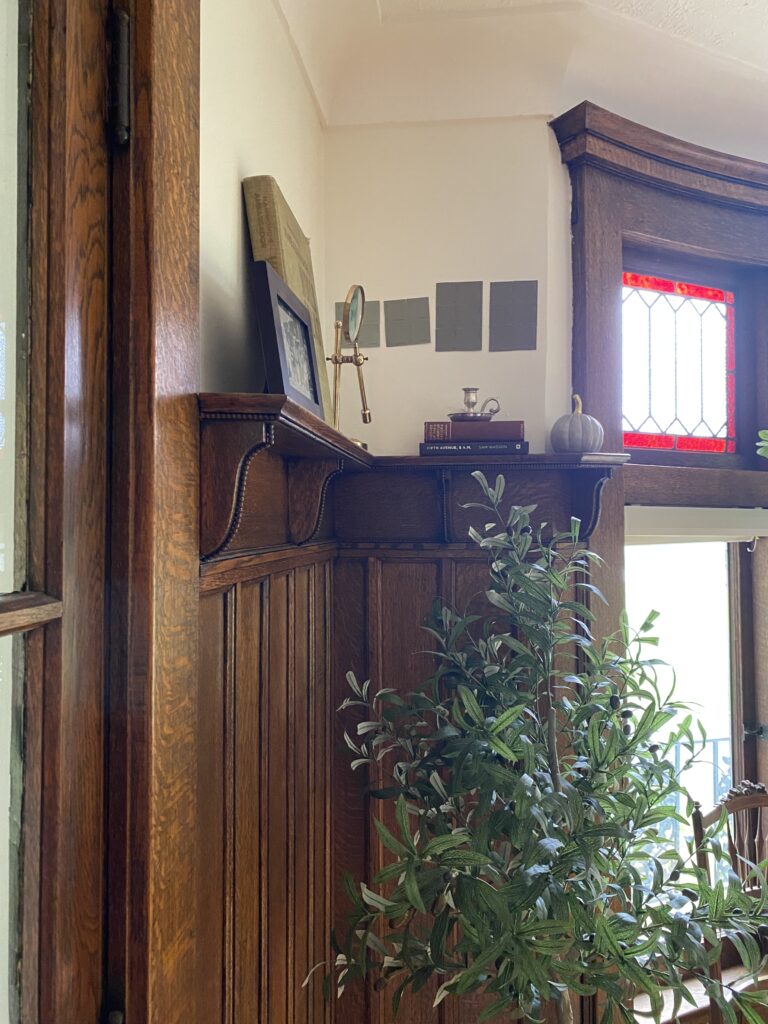
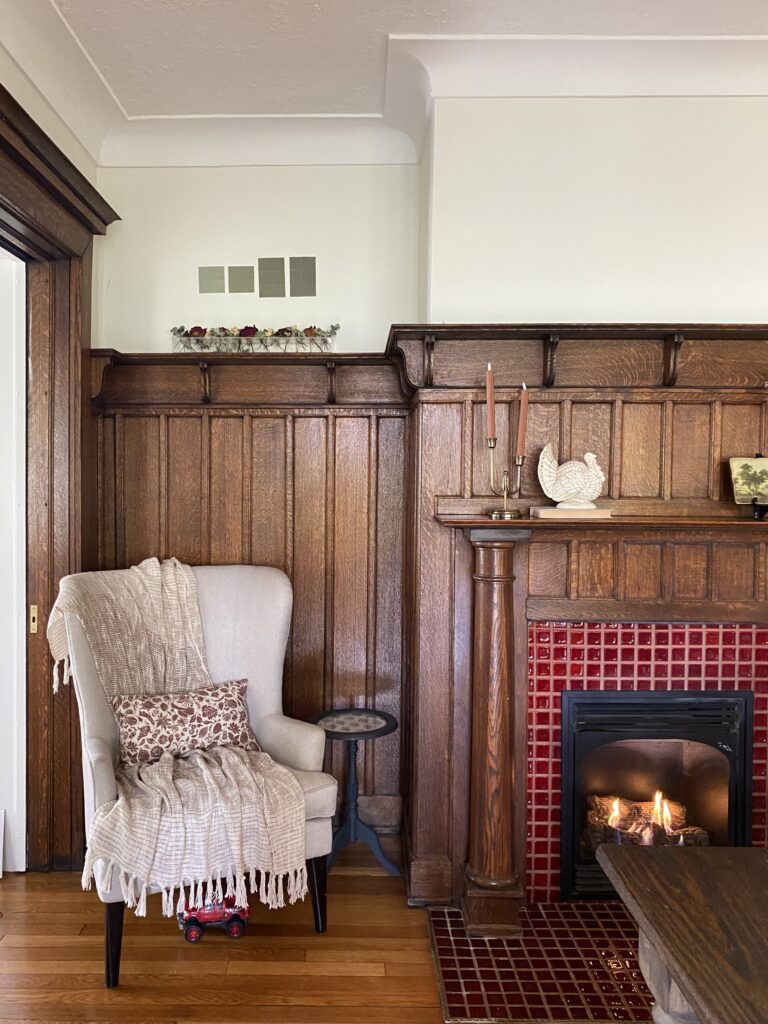
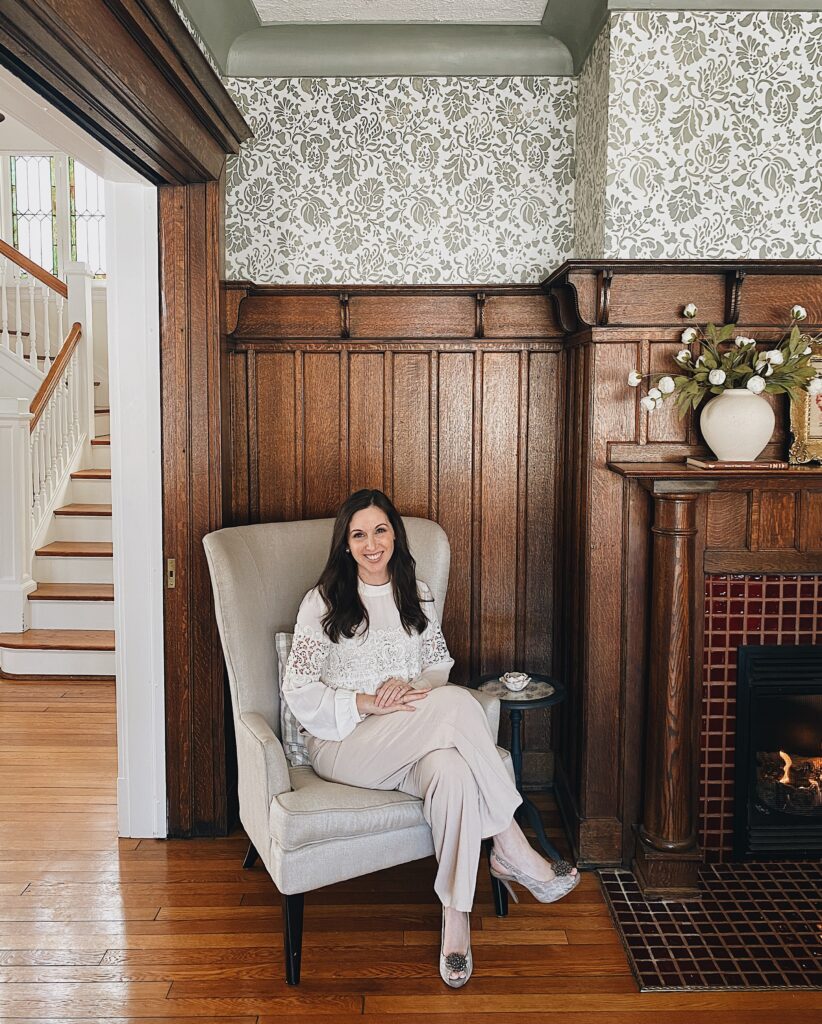
Full disclosure, I hemmed and hawed over a paint color for this space for quite some time. As you can see in the photos above, our dining room has rich, dark wood wainscoting with red stained-glass windows and a red-tiled fireplace. RED. When we first moved in, I viewed the red as somewhat of a nuisance when it came to decorating, and now I’ve grown to love it! It’s unexpected, and part of our historic home’s original beauty. I decided I would work with the red – and choose either a warm gray-beige or gray-green color. I sampled several greens – but kept coming back to a color I first discovered through the work of my favorite designer – Jean Stoffer. Sherwin Williams’ Evergreen Fog. It’s the perfect, subtle and sophisticated, statement green paint color.
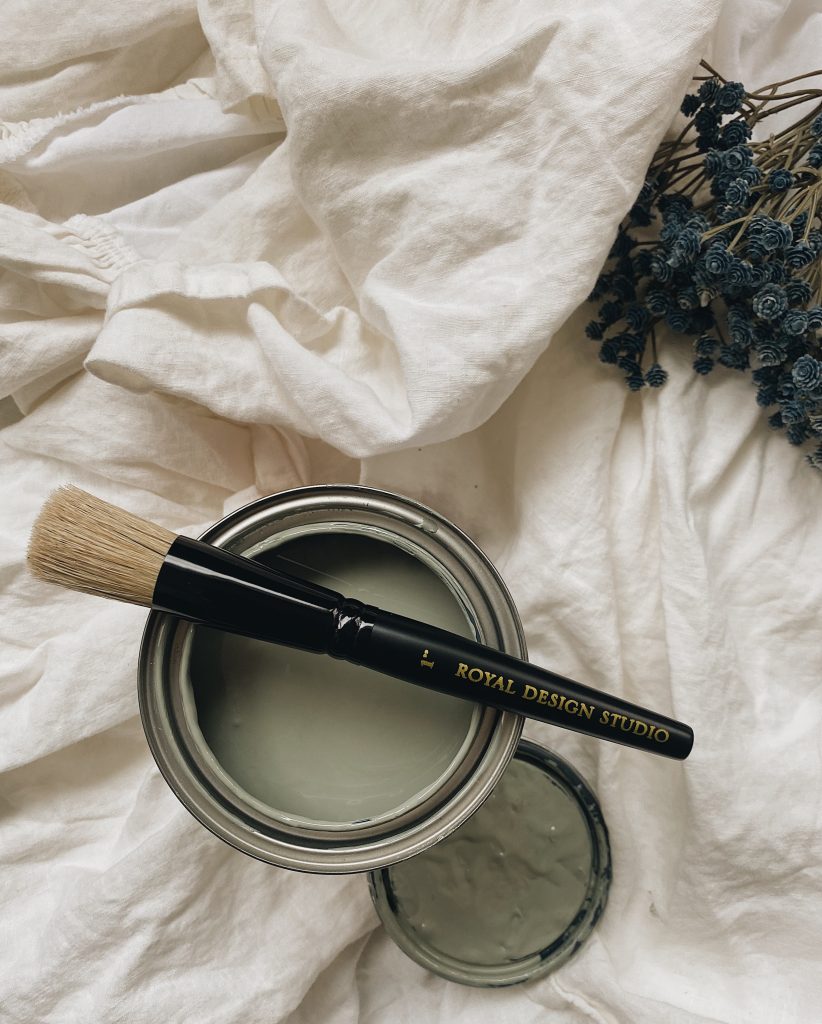
Over a year later and I have no regrets. Evergreen fog is ever-so-lovely in our dining room. The base color is the white paint color throughout our home – Benjamin Moore Swiss Coffee. Swiss Coffee is not considered a “true white,” but a creamy, warm, inviting white, with beige and yellow undertones. It’s the perfect hue for our 1902 Colonial Revival, and we love it!
Step 3: Let’s Get this Stencil Project Started!
You have all of your supplies and you’re staring at the wall, stencil in hand. Remember, this is a marathon, not a sprint. It’s going to take some time and patience but I promise, it’s worth it. You’re going to love the end result and feel so proud that you’ve accomplished this beautiful project that will add so much character and warmth to your home for years to come.
With that said – let’s GO!
- Make sure you’re holding the stencil the right way. You don’t want to turn the pattern upside down or sideways. You’ll see a little “Royal Design Studio” insignia on the right bottom corner of the stencil, and that’s where it should be positioned when adhering your stencil to the wall.
- Start at the top of your wall: using painters tape, adhere your stencil to the highest, most central point of your wall. From this point, you’ll continue stenciling in vertical rows from top to bottom until your wall is covered.
- Begin by coating your roller with a light layer of paint, rolling off the excess on paper towels. (You want to avoid soaking your roller with paint, as the excess paint can bleed under the stencil, disrupting the design). Start rolling over your stencil!
- Roll over your stencil using a firm, even pressure to cover the stencil area as evenly as possible. Reposition the stencil using the registration marks that are built into your stencil. Click here for Royal Design Stencil Co.’s video tutorial and guide on the different types of registration marks and how to use them.
- Utilize your stencil detail brush to get into any awkward spaces or corners. Near the end of the stencil process – because I had so many angles to navigate in my 1902 dining room – I had to hand paint some of the stencil pattern and cut the stencil so that I could maneuver the design into hard-to-reach areas. This is not a typical occurrence, as most likely you will be stenciling a symmetrical wall without antique moulding. If that’s the situation you’re facing, though, you can absolutely make it happen!
- Finishing your stencil: I’ve filmed a tutorial for you of how to get that “wallpaper” look so that the stencil butts up to your ceiling! Check it out here: Video tutorial
- For the before/after reveal, check out my reel on Instagram: “It’s Not Wallpaper”